Setting up Apple Messages for Business account to allow sending messages
Before you start sending tests messages to your Apple Messages for Business Account, you will need access to the following:
- An Apple device running iOS 11.3 and later or macOS 10.13.4 and later.
- An organization registered and approved in the Apple Messages for Business Register .
- An account with permissions to create a Messages for Business Account (MBA) and connect to a Messaging Service Provider (MSP) in this organization.
Create an Apple Messages for Business Account
If you don't have an organization:
- Log in to the Apple Messages for Business Register .
-
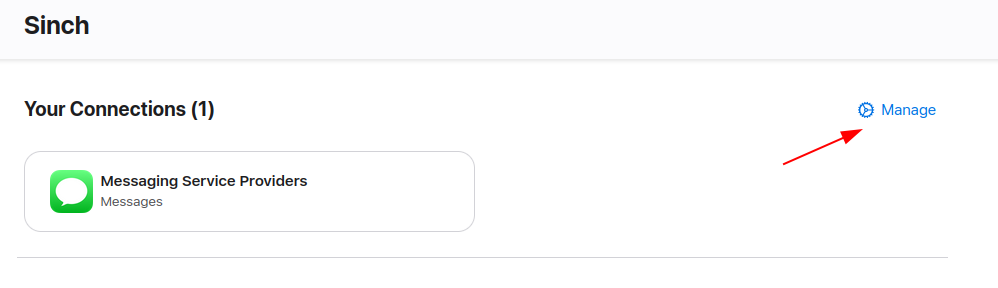
Click
Manage Connections
.
-
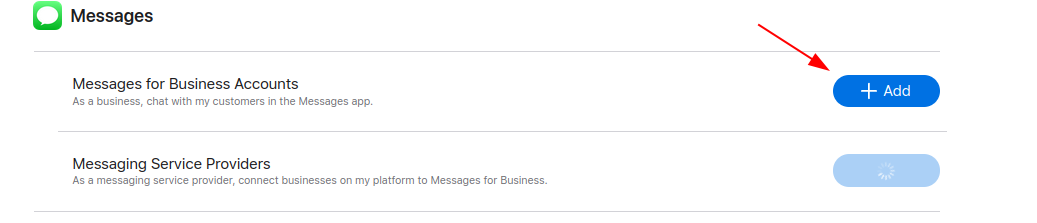
In "Messages for Business Accounts" click
Add
.
-
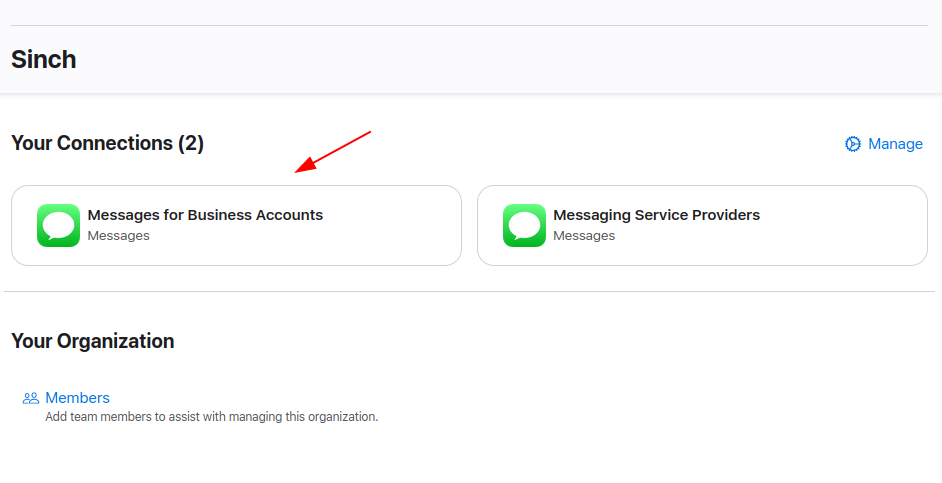
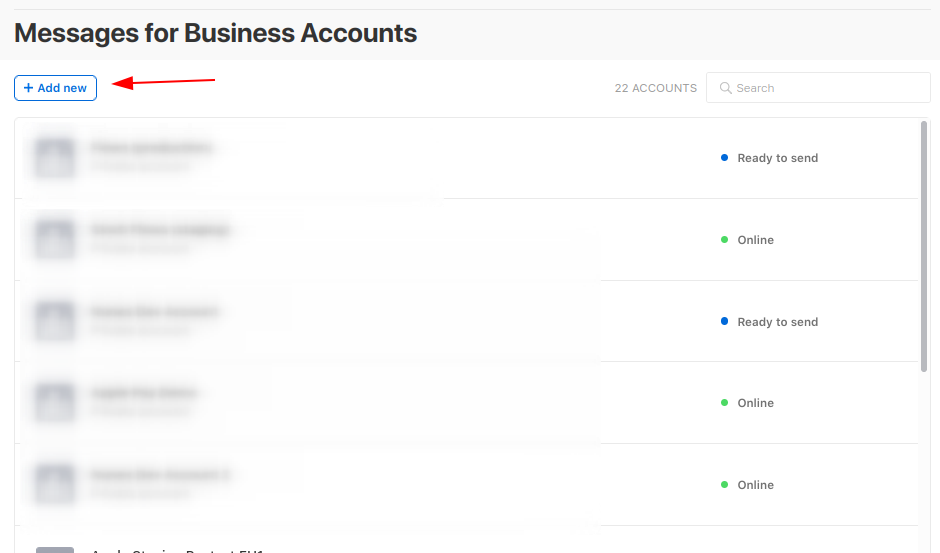
Go to the Home page and click
Messages for Business Accounts
.
-
Click
Add new
and then
Get start
.
- After checking all checkbooks for the Apple policies. Click in next.
- In the overview page, click Next .
- In the Account Applicant, fill the form with the information about your business.
- In the Messages for Business Account Type, you can choose if it's a commercial account or an internal test account. Its recommend that if it's your first account, to be internal test account. For this, click in advanced and then mark the box for Internal Test Account.
- In Account Contacts, fill with the Technical Contact for your Organization.
- In the overview page, click Next .
-
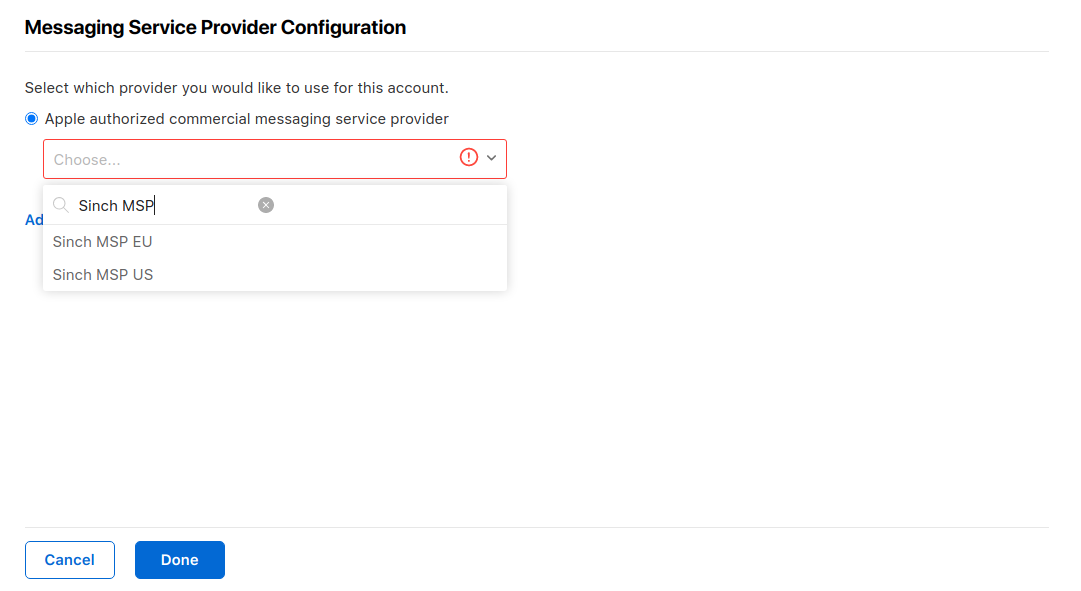
In the
Message Service Provider Configuration
, in the "Apple authorized commercial messaging service provider" you can select the
Sinch MSP EU
or
Sinch MSP US
depending on which app region is going to be used, then, click
Next
.
- In the Tester Apple ID page, you need to add testers Apple ID for your Apple Messages for Business account. Click Add Apple IDs and fill the form.
- After this, in the profile page you need to sent your profile to Review and wait to be approved.
If you already have a Messages for Business Account:
-
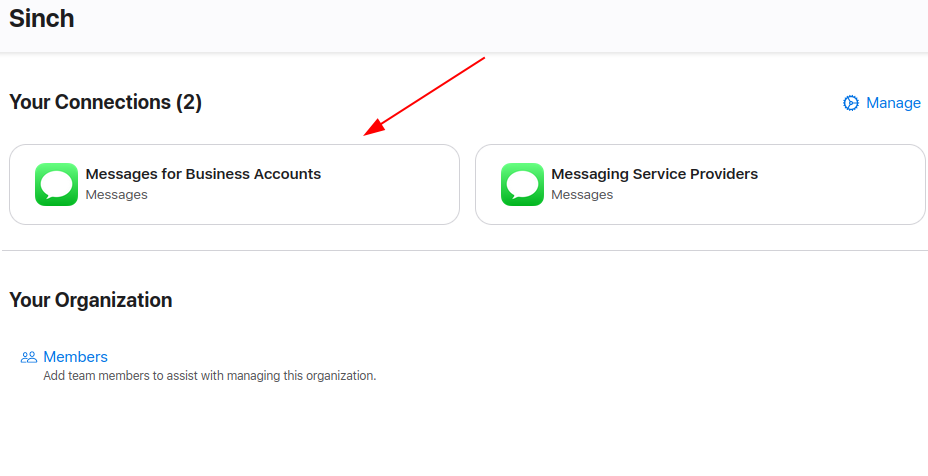
In your Home in the Apple Messages for Business Register, click Messages for Business Accounts under
Your Connections
.
-
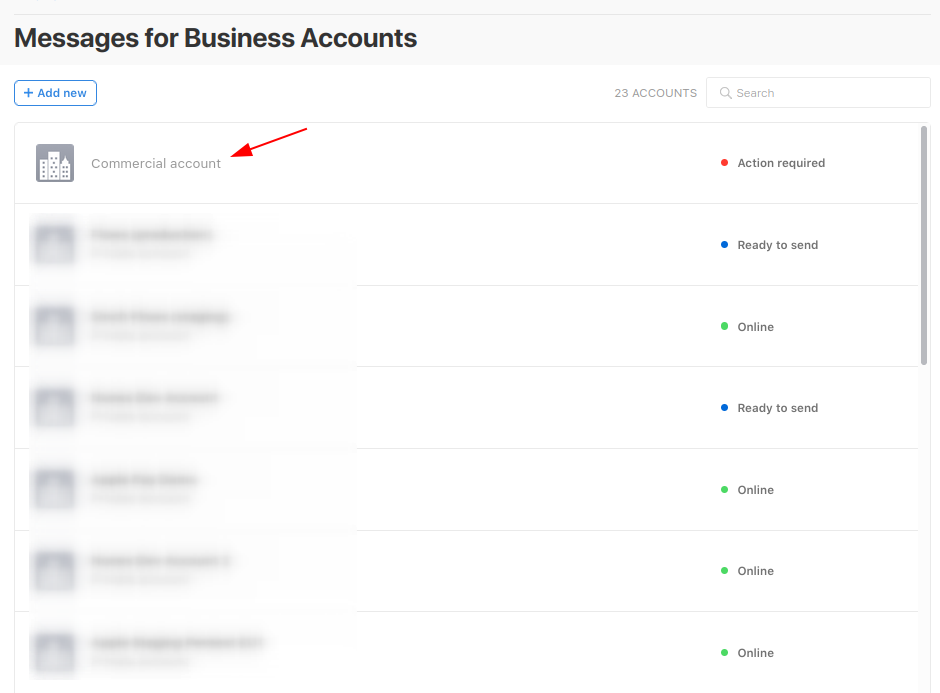
In this new page called
Messages for Business Accounts
, click your Account.
-
In the Message Service Provider section, click
Edit
.
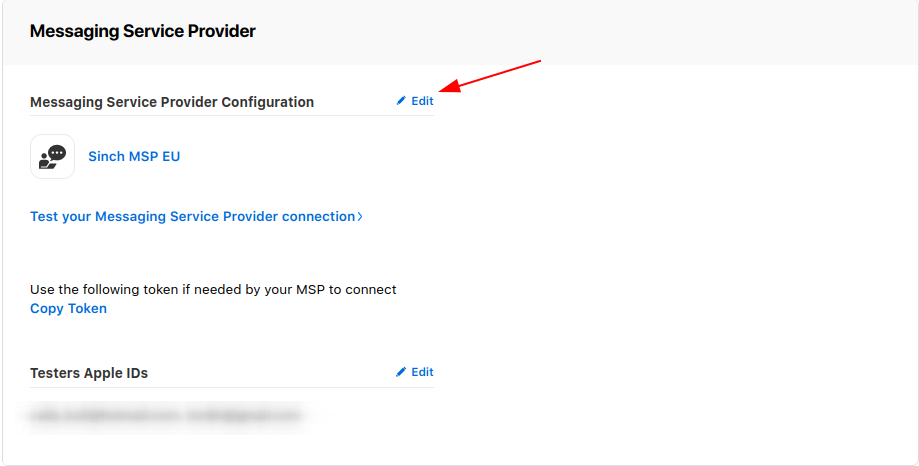
- In the Message Service Provider Configuration , in the "Apple authorized commercial messaging service provider" you can select the Sinch MSP EU or Sinch MSP US depending on which app region is going to be used, then, click Next . Apple Register
Connecting your Apple Messages for Business account with Conversation API
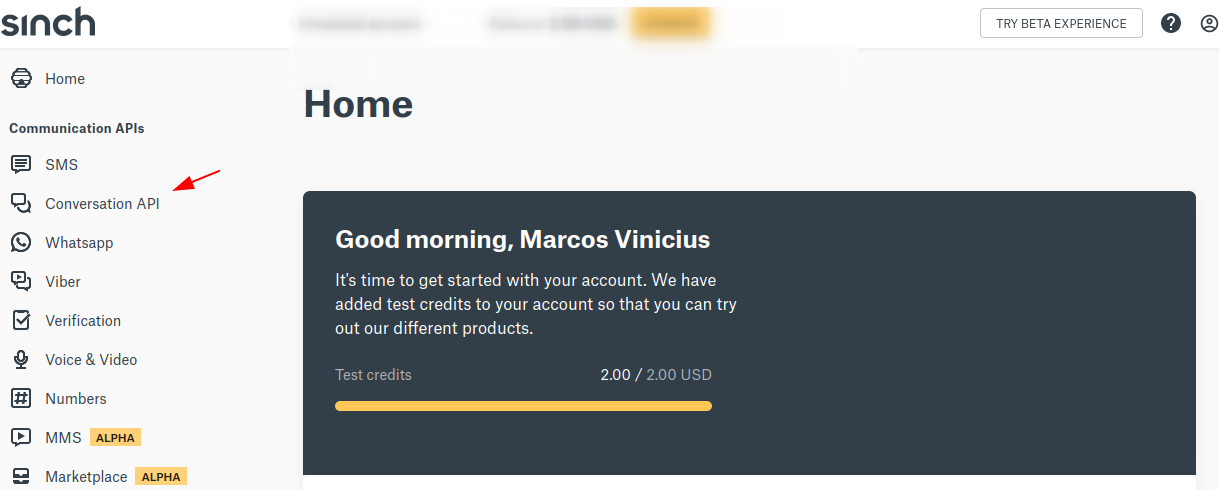
Access the Sinch Dashboard and do the following steps:
-
Click
Conversation API
.
- On the left side of the page, click Apps .
- In this new page, click NEW APP and fill the Display Name and Region which the App will be located.
- Click Go to App or in the Conversation apps page, click the name of your app.
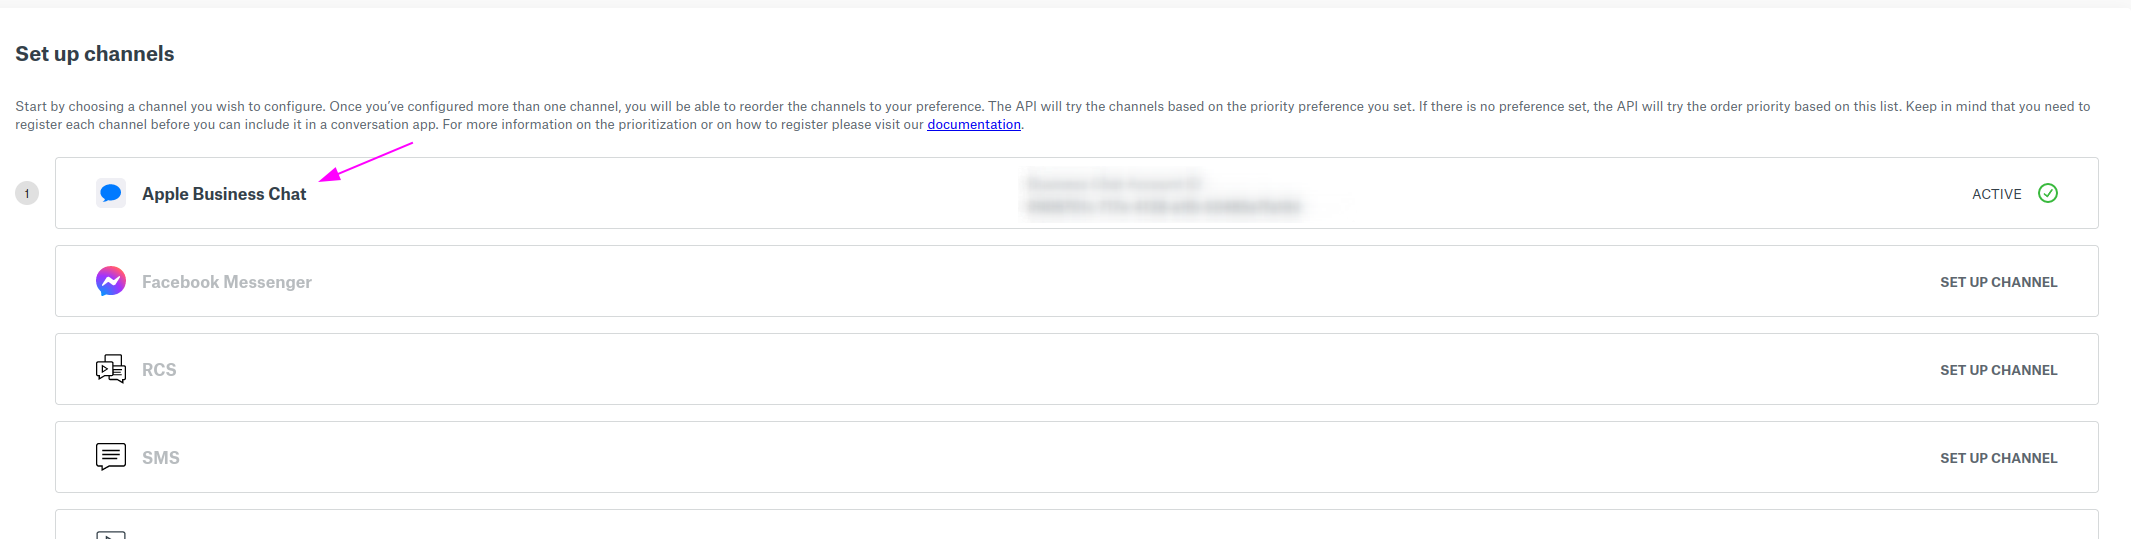
- In this new page, in the "Setup Channels" section click Apple Messages for Business SET UP CHANNEL .
- In this page, you need to put your Messages for Business Account ID. This information you can find in your Messages For Business Accounts section in your Apple Register . a. In your account, inside the Messaging Service Provider section, click in Test your Messaging Service Provider connection . b. In this new page, copy the Business Account ID.
- Copy the BCA-ID and click SAVE .
Removing Apple Messages for Business Integration
Because of the Apple Messages for Business creation process, you can't remove a MSP, only change it to another.
- In your Organization Page, click Messages for Business Accounts .
- In this new page, click your Messages for Business Account.
- In the Message Service Provider section of your profile page, click Edit .
- Change the MSP.
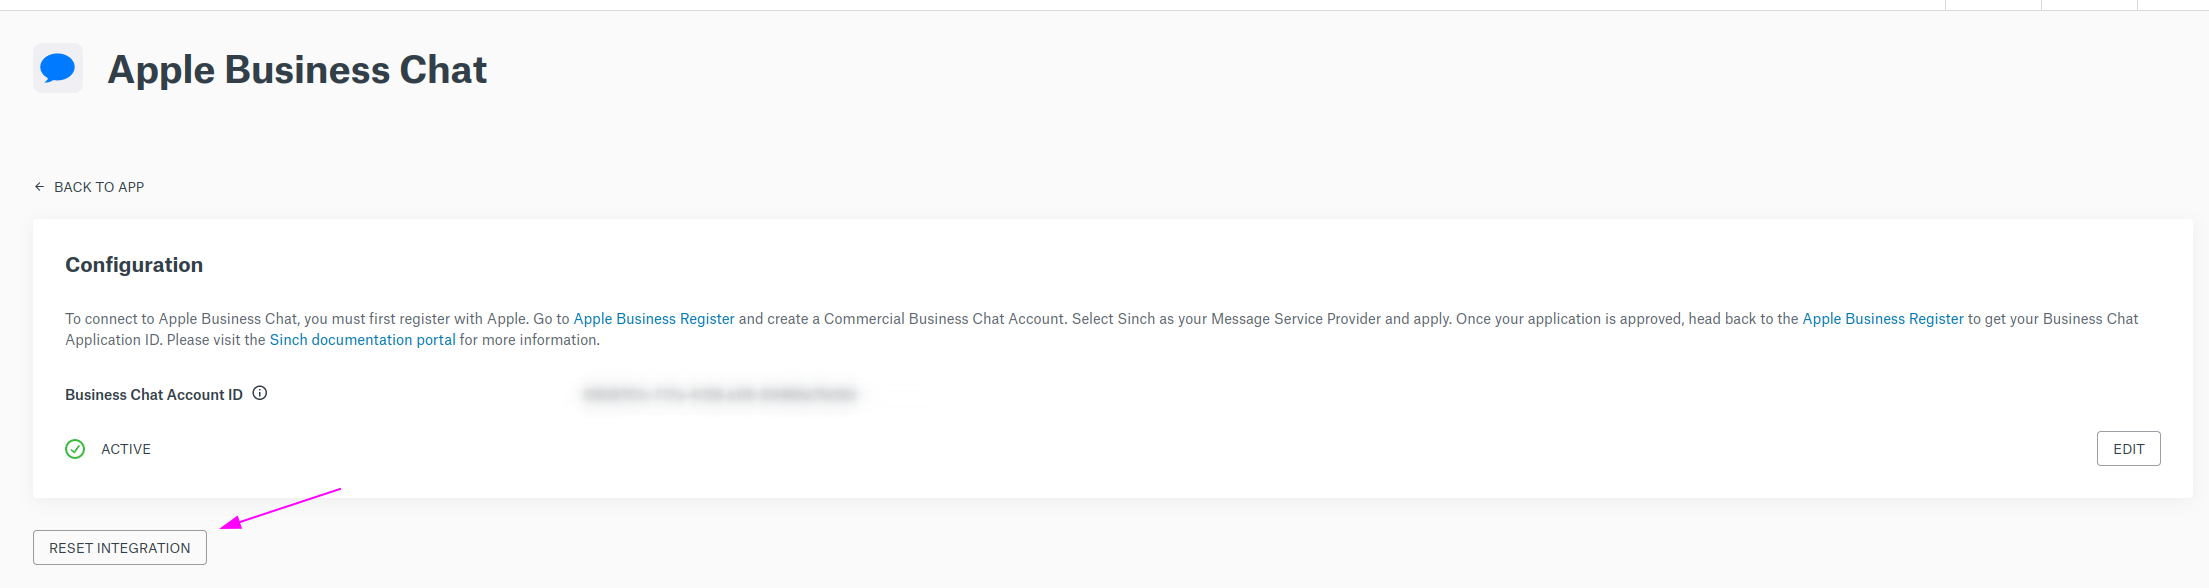
Or you can reset your integration with the ABC in your APP:
In the Sinch Dashboard, do the following:
- Click Apps under Conversation API menu.
- Select the name of the app you created with the Sinch MSP.
-
Click the Apple Messages for Business Integration.
-
In this page, click
RESET INTEGRATION
and confirm your choice.